Lighting a joint is both a combination of art and science. An unevenly lit blunt or joint can easily ruin a good session. While “how to light a joint” might seem like a simple question, mastering the art is quite important—not just for beginners, but also for seasoned users. There’s a proper way to do it to get the best burn and consistent experience. In this blog, we share a step-by-step guide and some useful tips on how to properly light a joint so you can get it right every time.
Step-by-Step Guide to Lighting a Joint
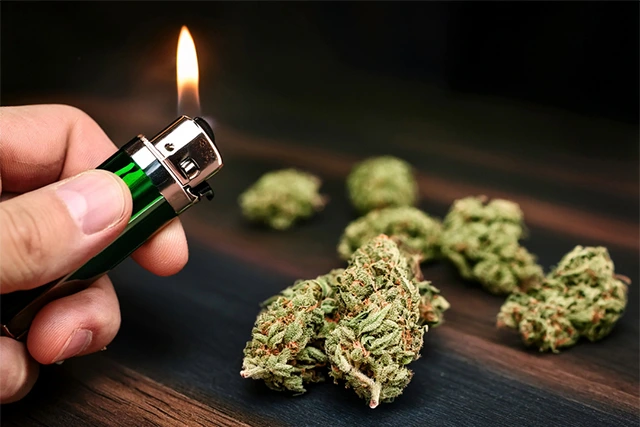
Step 1: Choose the Right Lighter
Believe it or not, the lighter you use can make a noticeable difference in your smoking experience. While it might be tempting to reach for a high-powered torch or windproof lighter, these intense flames can burn your joint too quickly or unevenly, especially near the tip.
A standard pocket lighter—like a basic Bic—is usually the best choice. It’s affordable, easy to handle, and produces a soft, controlled flame that’s ideal for gently toasting the end of your joint without scorching it.
Butane lighters are also popular for their clean burn, as they don’t affect the flavor of your flower. Avoid lighters with strong chemical smells or large flames, which can overpower the subtle terpene profile of your strain.
In short: you don’t need anything fancy—just something reliable and easy to control.
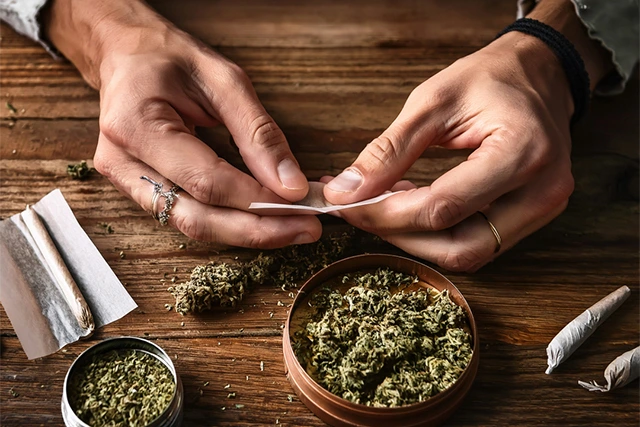
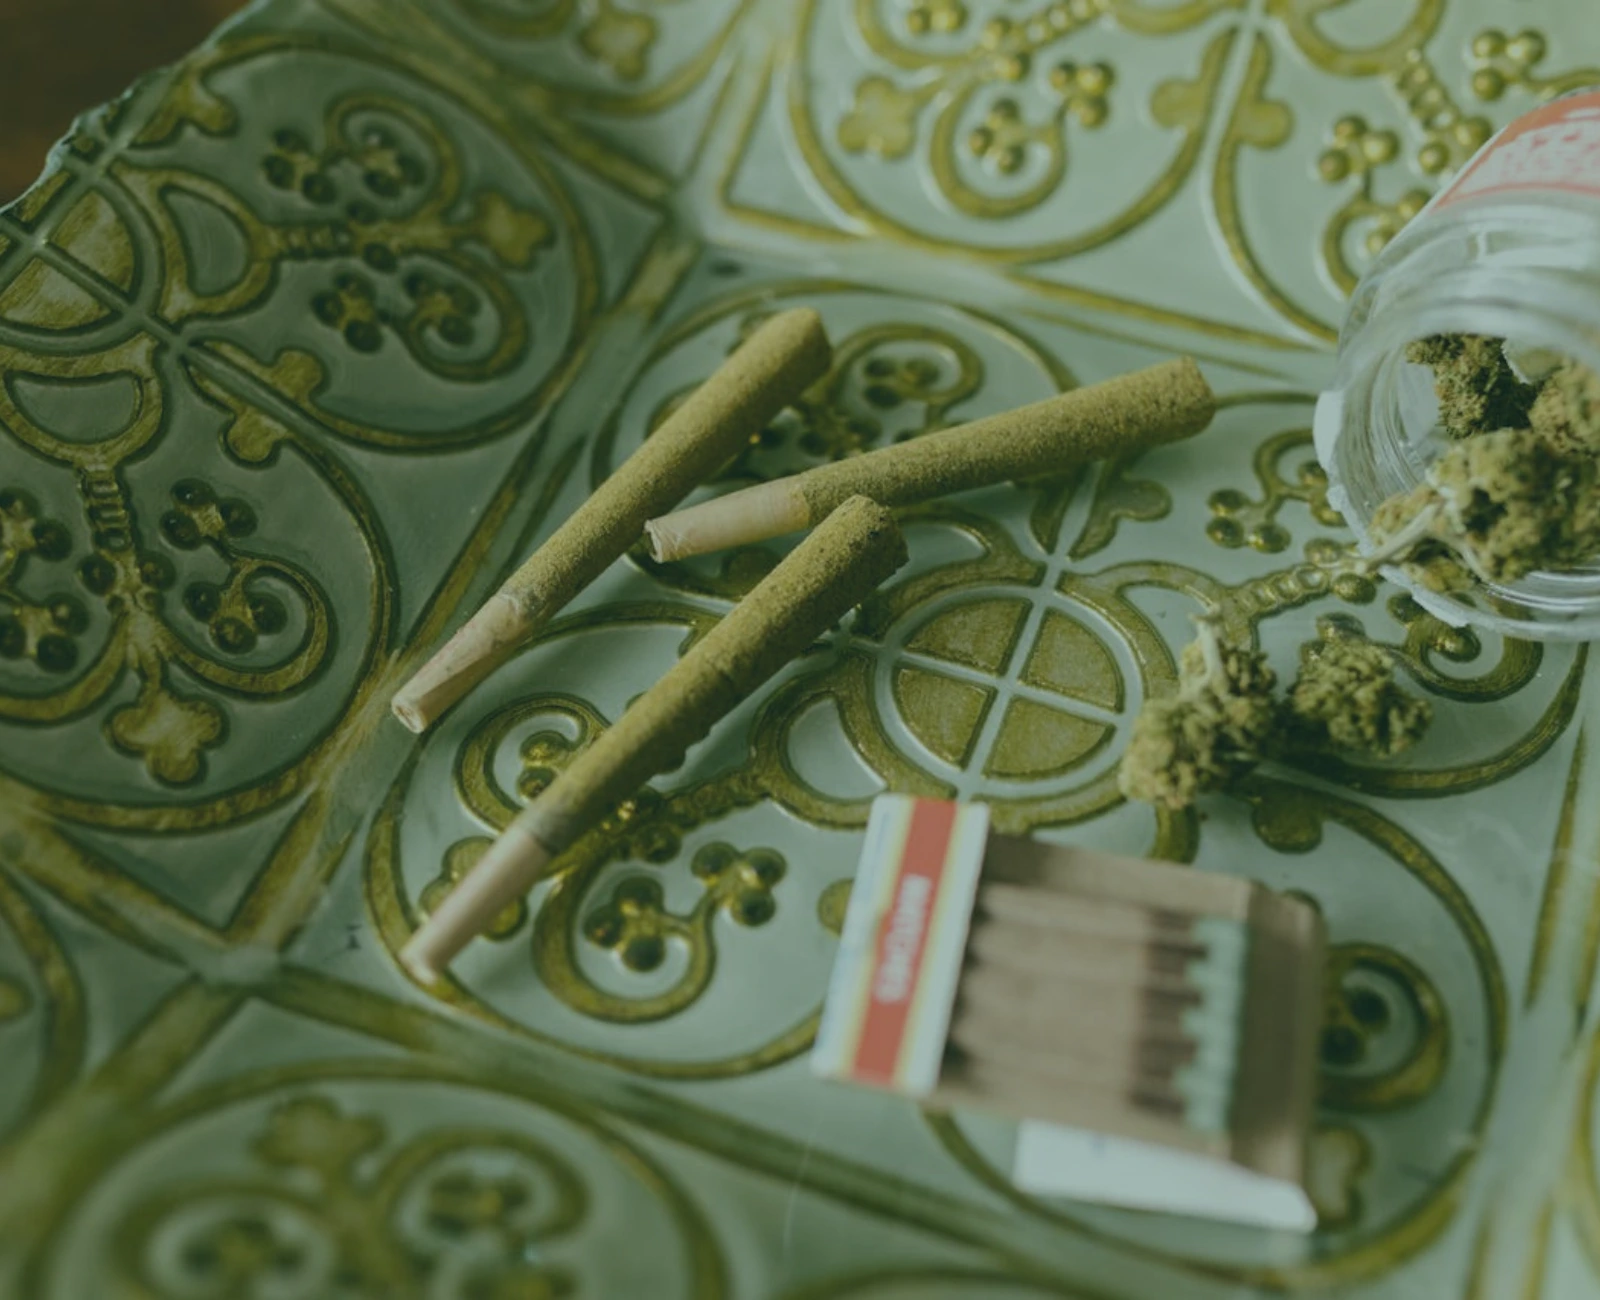
Step 2: Prepare the Joint
How to light a spliff also depends on the mastery of rolling. Here’s how to properly prepare your ingredients and ensure a pleasant experience.
All you need is your bud, a grinder, and rolling papers. A filter might also be a good addition to hold the joint in place and improve your overall experience.
Using the grinder, break down your bud. Make sure the weed isn’t too fine, or too chunky. Next, take a rolling paper and spread the ground weed evenly. Fill it in just enough to leave spaces on both ends.
Now roll it back and forth in your fingers, maintaining a consistent pressure. Seal it up, and twist the end to close the joint off. Double-check it’s sealed properly and that nothing’s falling out of either end before moving on to the next step.

Step 3: Light the Joint
Hold the joint between your fingers (preferably with your thumb and index finger at the mouthpiece) with its tip near the flame. Hold it in the flame for a second before raising it to inhale through the un-lit side. Rotate the joint slowly until it’s evenly lit and smoking nicely.
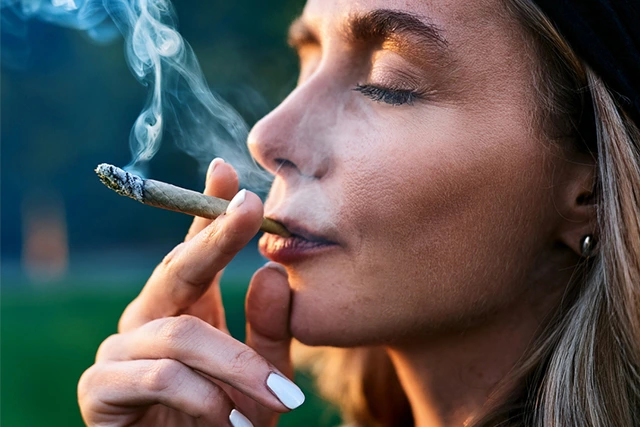
Step 5: Puff and Pass
Once you’ve noticed the nice ember, all you need to do is enjoy it! The last step is a well-known group smoking etiquette—Puff and pass. Take two puffs, tap the end of the lit blunt or joint on the ashtray to drop the loose ashes, and pass it to the next person. “Puff, puff, pass” ensures the vibes are relaxed, and everyone gets to enjoy it.
Bonus Tips for a Better Experience
While we’ve tackled the easy-peasy step-by-step, there are also ways to refine your techniques on how to light a joint. Keep these things in mind.
Avoid Windy Conditions
Lighting a joint outdoors can be relaxing—but it does come with challenges. Wind can cause your joint to burn unevenly or even go out entirely, wasting both time and product. If you’re outside, try to find a sheltered area, such as behind a wall, in a parked car (windows cracked), or near natural windbreaks like trees or buildings.
Using a windproof or butane lighter can also make a big difference, as it produces a steady flame that resists flickering. When lighting, use your dominant hand to control the flame and your non-dominant hand to block wind from hitting the joint’s tip. This helps ensure an even, consistent light and avoids over-charring the paper or flower.
Whether you’re on a hike, at the beach, or just hanging on the porch—a little wind protection goes a long way in keeping your session smooth.
Maintain the Burn
Once your joint is lit, it’s all about keeping the burn even and controlled to get the most out of your session.
- Take steady puffs: Avoid inhaling too forcefully—strong pulls can cause the cherry (the lit end) to burn unevenly or “canoe” down one side. Instead, take slow, consistent draws to maintain a smooth burn.
- Rotate as you light: The cylindrical shape of a joint makes even burning a little tricky at first. As you light it, gently rotate the joint near the flame to toast all sides evenly before taking your first puff. This helps ensure a symmetrical cherry and prevents one side from burning faster than the other.
- Fix canoeing quickly: If your joint starts to burn unevenly (a common issue known as “canoeing”), you can slow down the faster-burning side by moistening it slightly. Most people use a damp fingertip or even a quick touch with the tongue to dab the fast-burning edge. Just be gentle—it doesn’t take much to correct the burn.
With a little care and attention, you’ll keep your joint burning evenly from start to finish.
Legal and Safety Considerations
- Observe local laws: Most states do not allow lighting and smoking joints in public spaces. To maximize the potency of your weed breaking no rules, it’s best to smoke in the comfort of your own home or your buddy’s crib. No risk of getting pulled over or cited—just good vibes.
- Practice fire safety: As you enjoy and get groovy with the chill of it all, be mindful of the flammable objects near you. Dispose of the ashes properly and watch out for loose embers. Be responsible, and do not consume cannabis if you are under the legal age of 21 in New York.
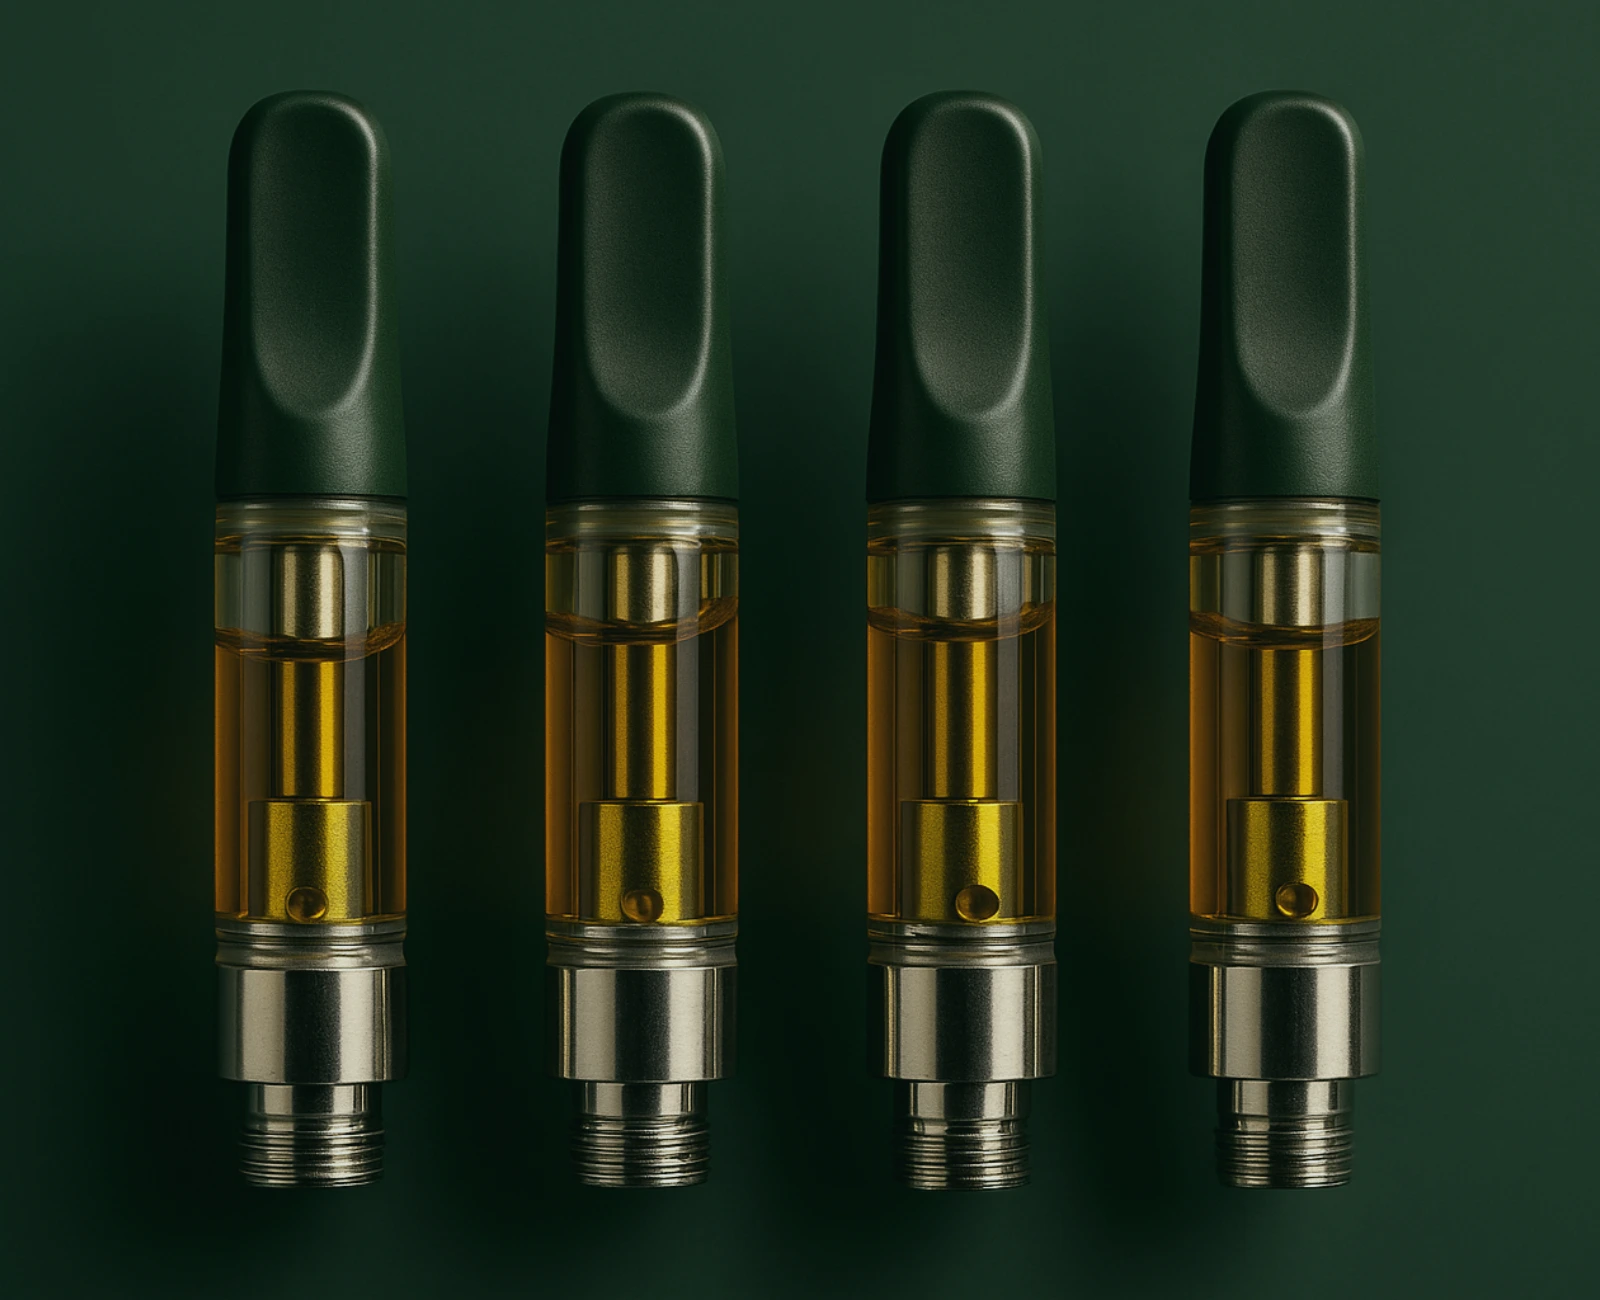
Premium Quality Joints from Windy Hill
At Windy Hill Wellness, we offer a curated selection of top-shelf pre-rolls crafted for a smooth, consistent burn—every time. Whether you’re looking for bold potency or flavor-forward strains, our expertly rolled options are designed to match a variety of preferences and lifestyles. From lighting up to the final puff, your experience should feel just as seamless as the product itself.
Explore Windy Hill’s premium pre-rolls today and find your perfect match.
Frequently Asked Questions
Do you light the tip of a joint?
Yes. How to properly light a joint starts with lighting or igniting the twisted tip. Let the excess paper burn using a lighter, but avoid letting it burn quickly and unevenly. You can do this by just hovering the tip over the flame and slowly rotating to slowly ignite the outer edges.
How do you light a pre-rolled joint?
The first thing to do is to inspect the pre-rolled joint if it’s packed evenly and with no damage. Once confirmed it’s in excellent condition, find the twisted end, as this will act as the wick. Hold the twisted end over the flame, and gently toast it. Take a few gentle puffs to establish an even burn. Once you’ve noticed a steady burn, you’re now easy to take short or long drags.